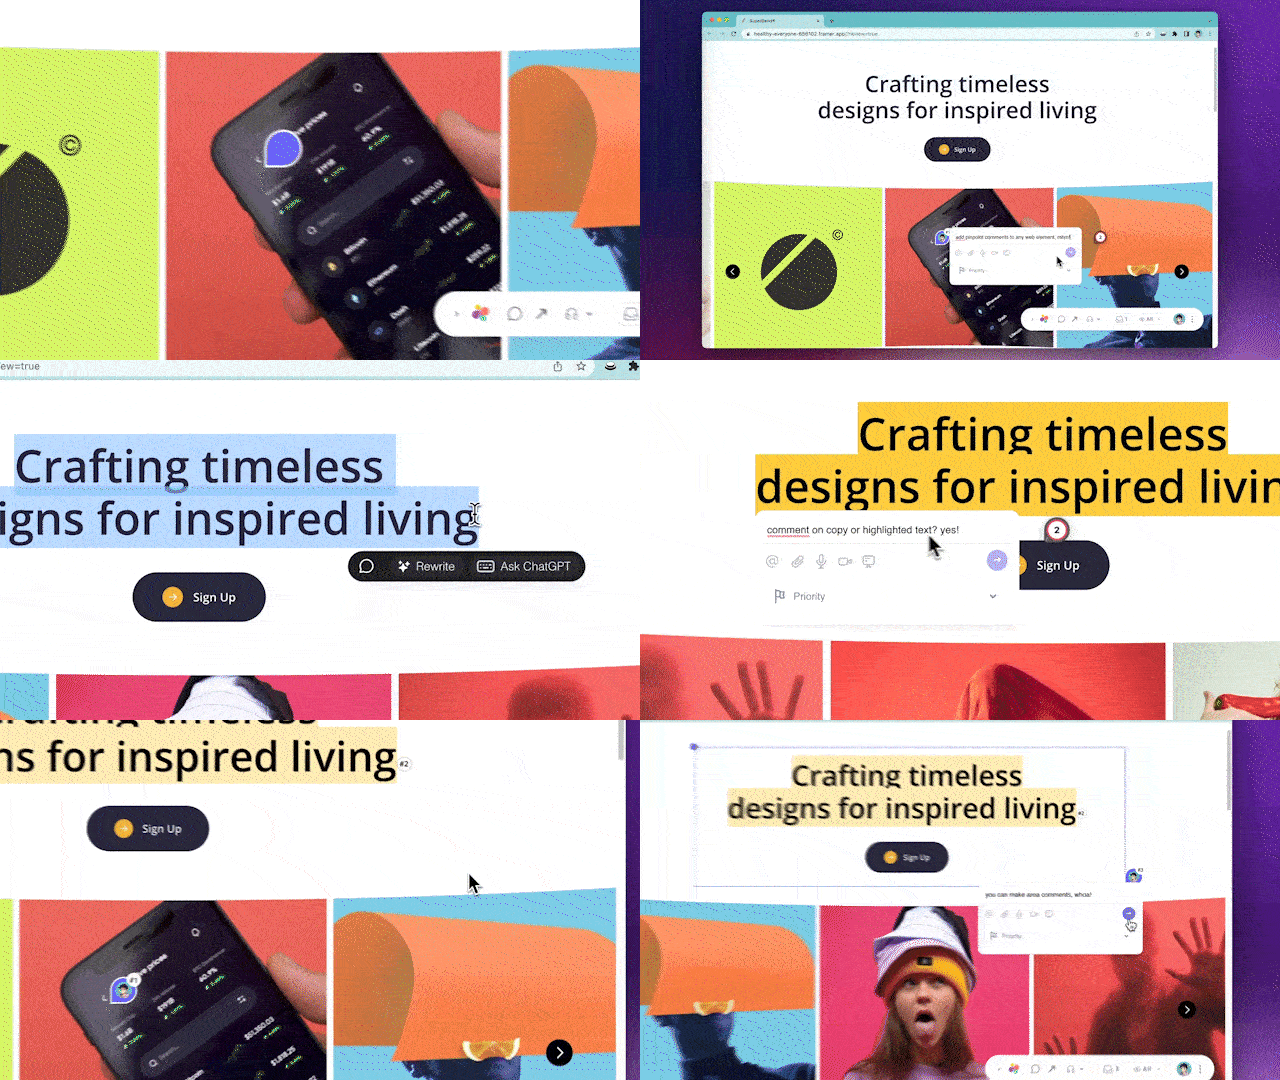
Highlight this text to test out Superflow
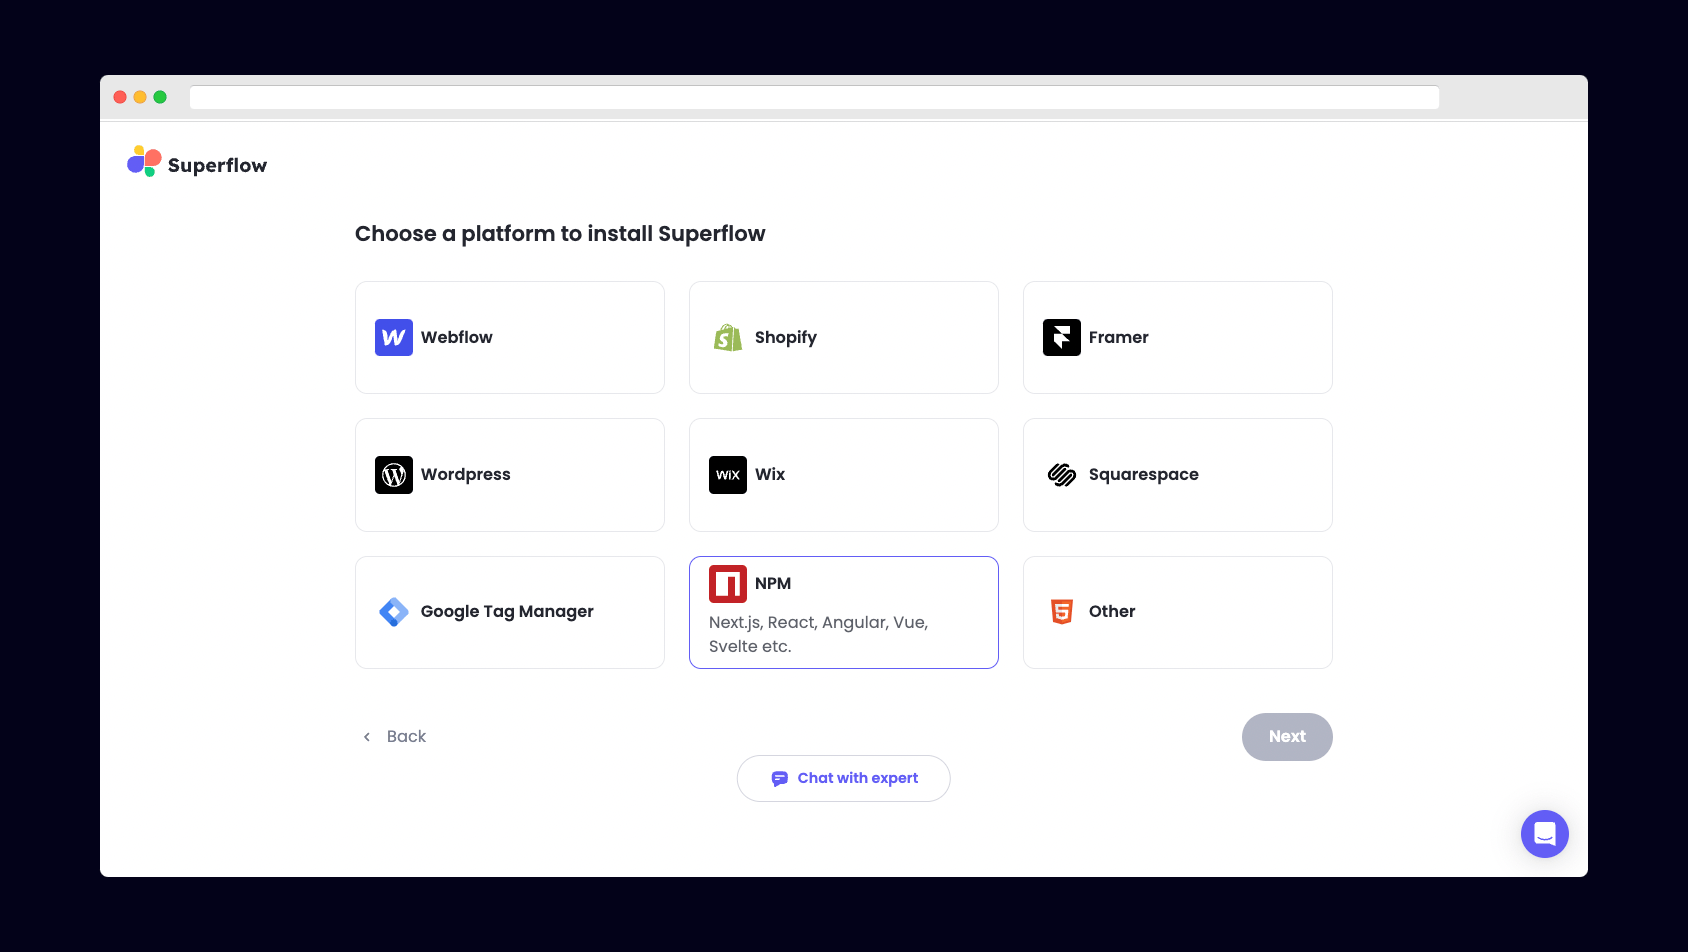
 ## 2) Select NPM from the list of Platforms
Choose NPM from the list of options to install Superflow with Next.js.
## 2) Select NPM from the list of Platforms
Choose NPM from the list of options to install Superflow with Next.js.
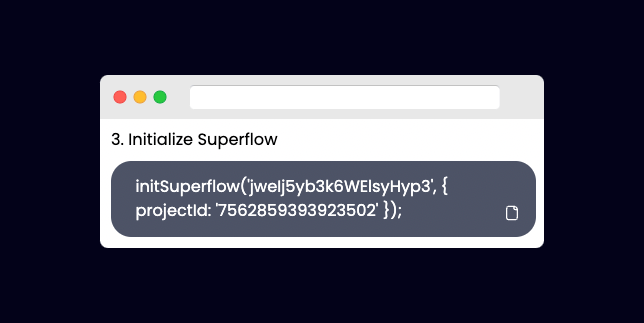
 ## 3) Copy your unique Superflow Code
Copy the code from the section "Initialize Superflow"
## 3) Copy your unique Superflow Code
Copy the code from the section "Initialize Superflow"
 ## 4) Install the Superflow NPM package
Install the Superflow NPM package with:
```
npm i @usesuperflow/client
```
## 5) Import Superflow into your `page.tsx` file
Import the Superflow NPM package with:
```
import { initSuperflow } from '@usesuperflow/client'
```
## 6) Initialize Superflow within `page.tsx`
Import `initSuperflow` from the NPM package and use it to initialize Superflow.
Create a `useEffect` hook and paste in the unique Superflow code you copied earlier.
Be sure to add `"use client"` at the top of your `page.tsx` file to enable client side data-fetching.
```js theme={null}
"use client";
import Image from 'next/image'
import { useEffect } from 'react'
import { initSuperflow } from '@usesuperflow/client'
export default function Home() {
useEffect(()=>{
//initialize Superflow
initSuperflow('YOUR_API_KEY', {
projectId: 'YOUR_PROJECT_ID'
});
})
return (
## 4) Install the Superflow NPM package
Install the Superflow NPM package with:
```
npm i @usesuperflow/client
```
## 5) Import Superflow into your `page.tsx` file
Import the Superflow NPM package with:
```
import { initSuperflow } from '@usesuperflow/client'
```
## 6) Initialize Superflow within `page.tsx`
Import `initSuperflow` from the NPM package and use it to initialize Superflow.
Create a `useEffect` hook and paste in the unique Superflow code you copied earlier.
Be sure to add `"use client"` at the top of your `page.tsx` file to enable client side data-fetching.
```js theme={null}
"use client";
import Image from 'next/image'
import { useEffect } from 'react'
import { initSuperflow } from '@usesuperflow/client'
export default function Home() {
useEffect(()=>{
//initialize Superflow
initSuperflow('YOUR_API_KEY', {
projectId: 'YOUR_PROJECT_ID'
});
})
return (
Highlight this text to test out Superflow
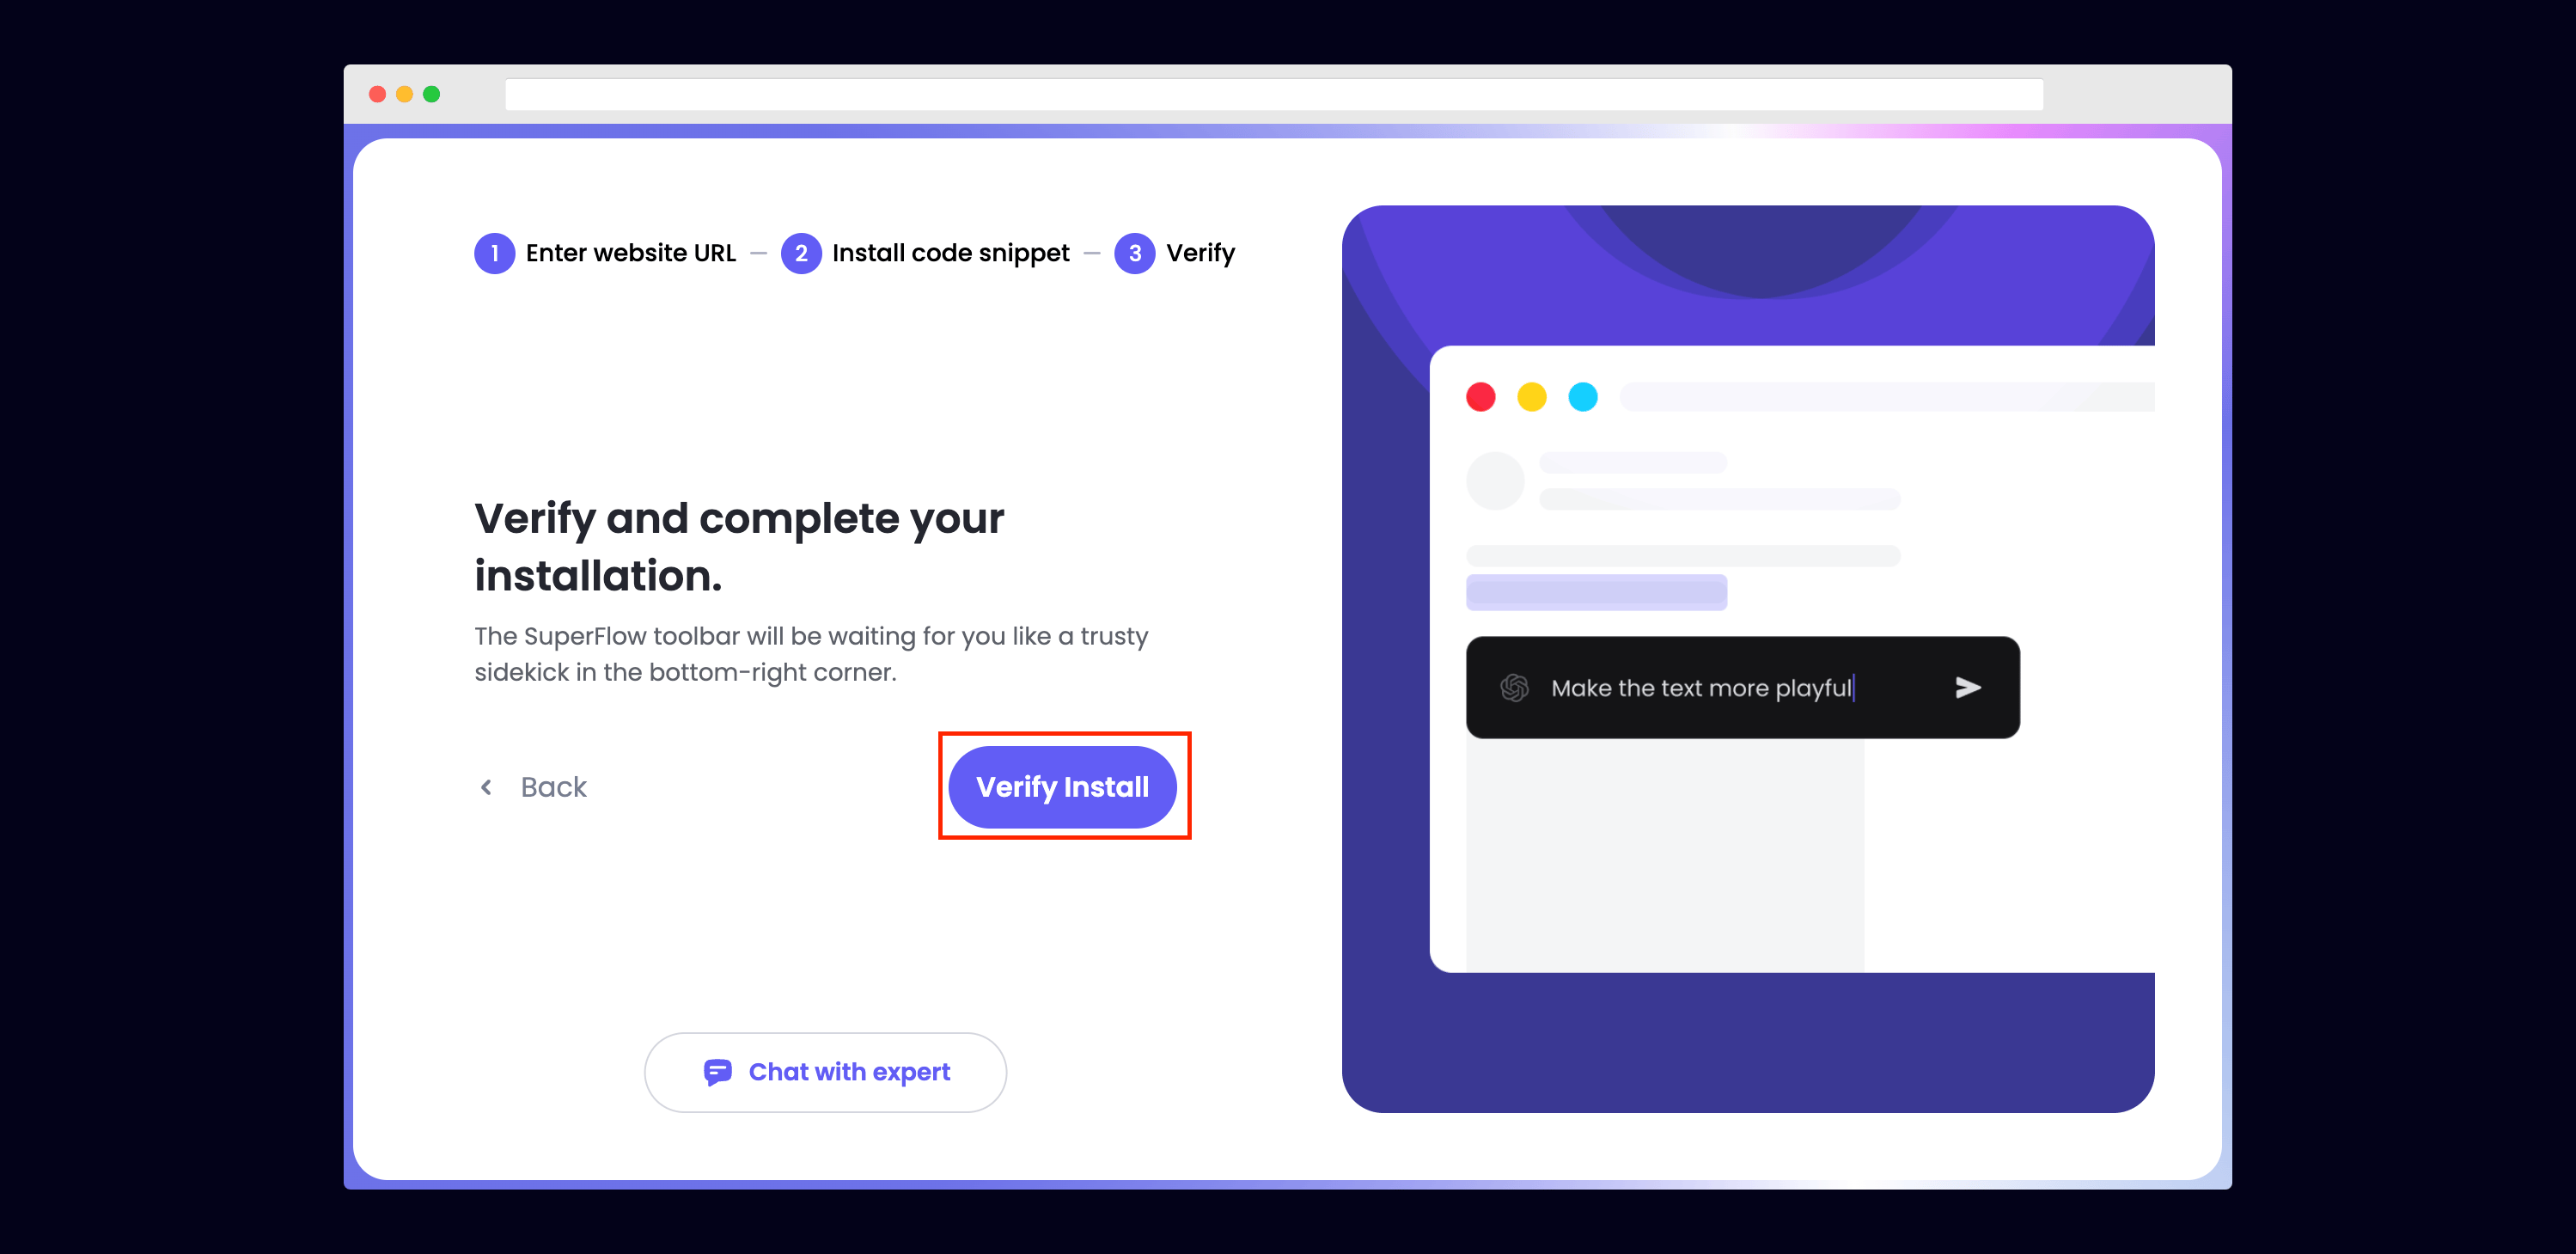 If successful, you should be redirected to your published Next site and see the following success message:
 ## 9) Troubleshooting
Having trouble getting your verifying your installation? Here are the common mistakes users encounter when installing Superflow:
* Did you forget to save the Custom Code?
* Did you forget to publish your site?
* Is the browser still loading a cached version?
* Did you add `?review=true` at the end of your url?
* Did you publish your changes on a staging URL while you are trying to access a Prod URL?
* Did you accidentally install multiple Superflow scripts in the Custom Code?
## 10) Navigate to your Next site
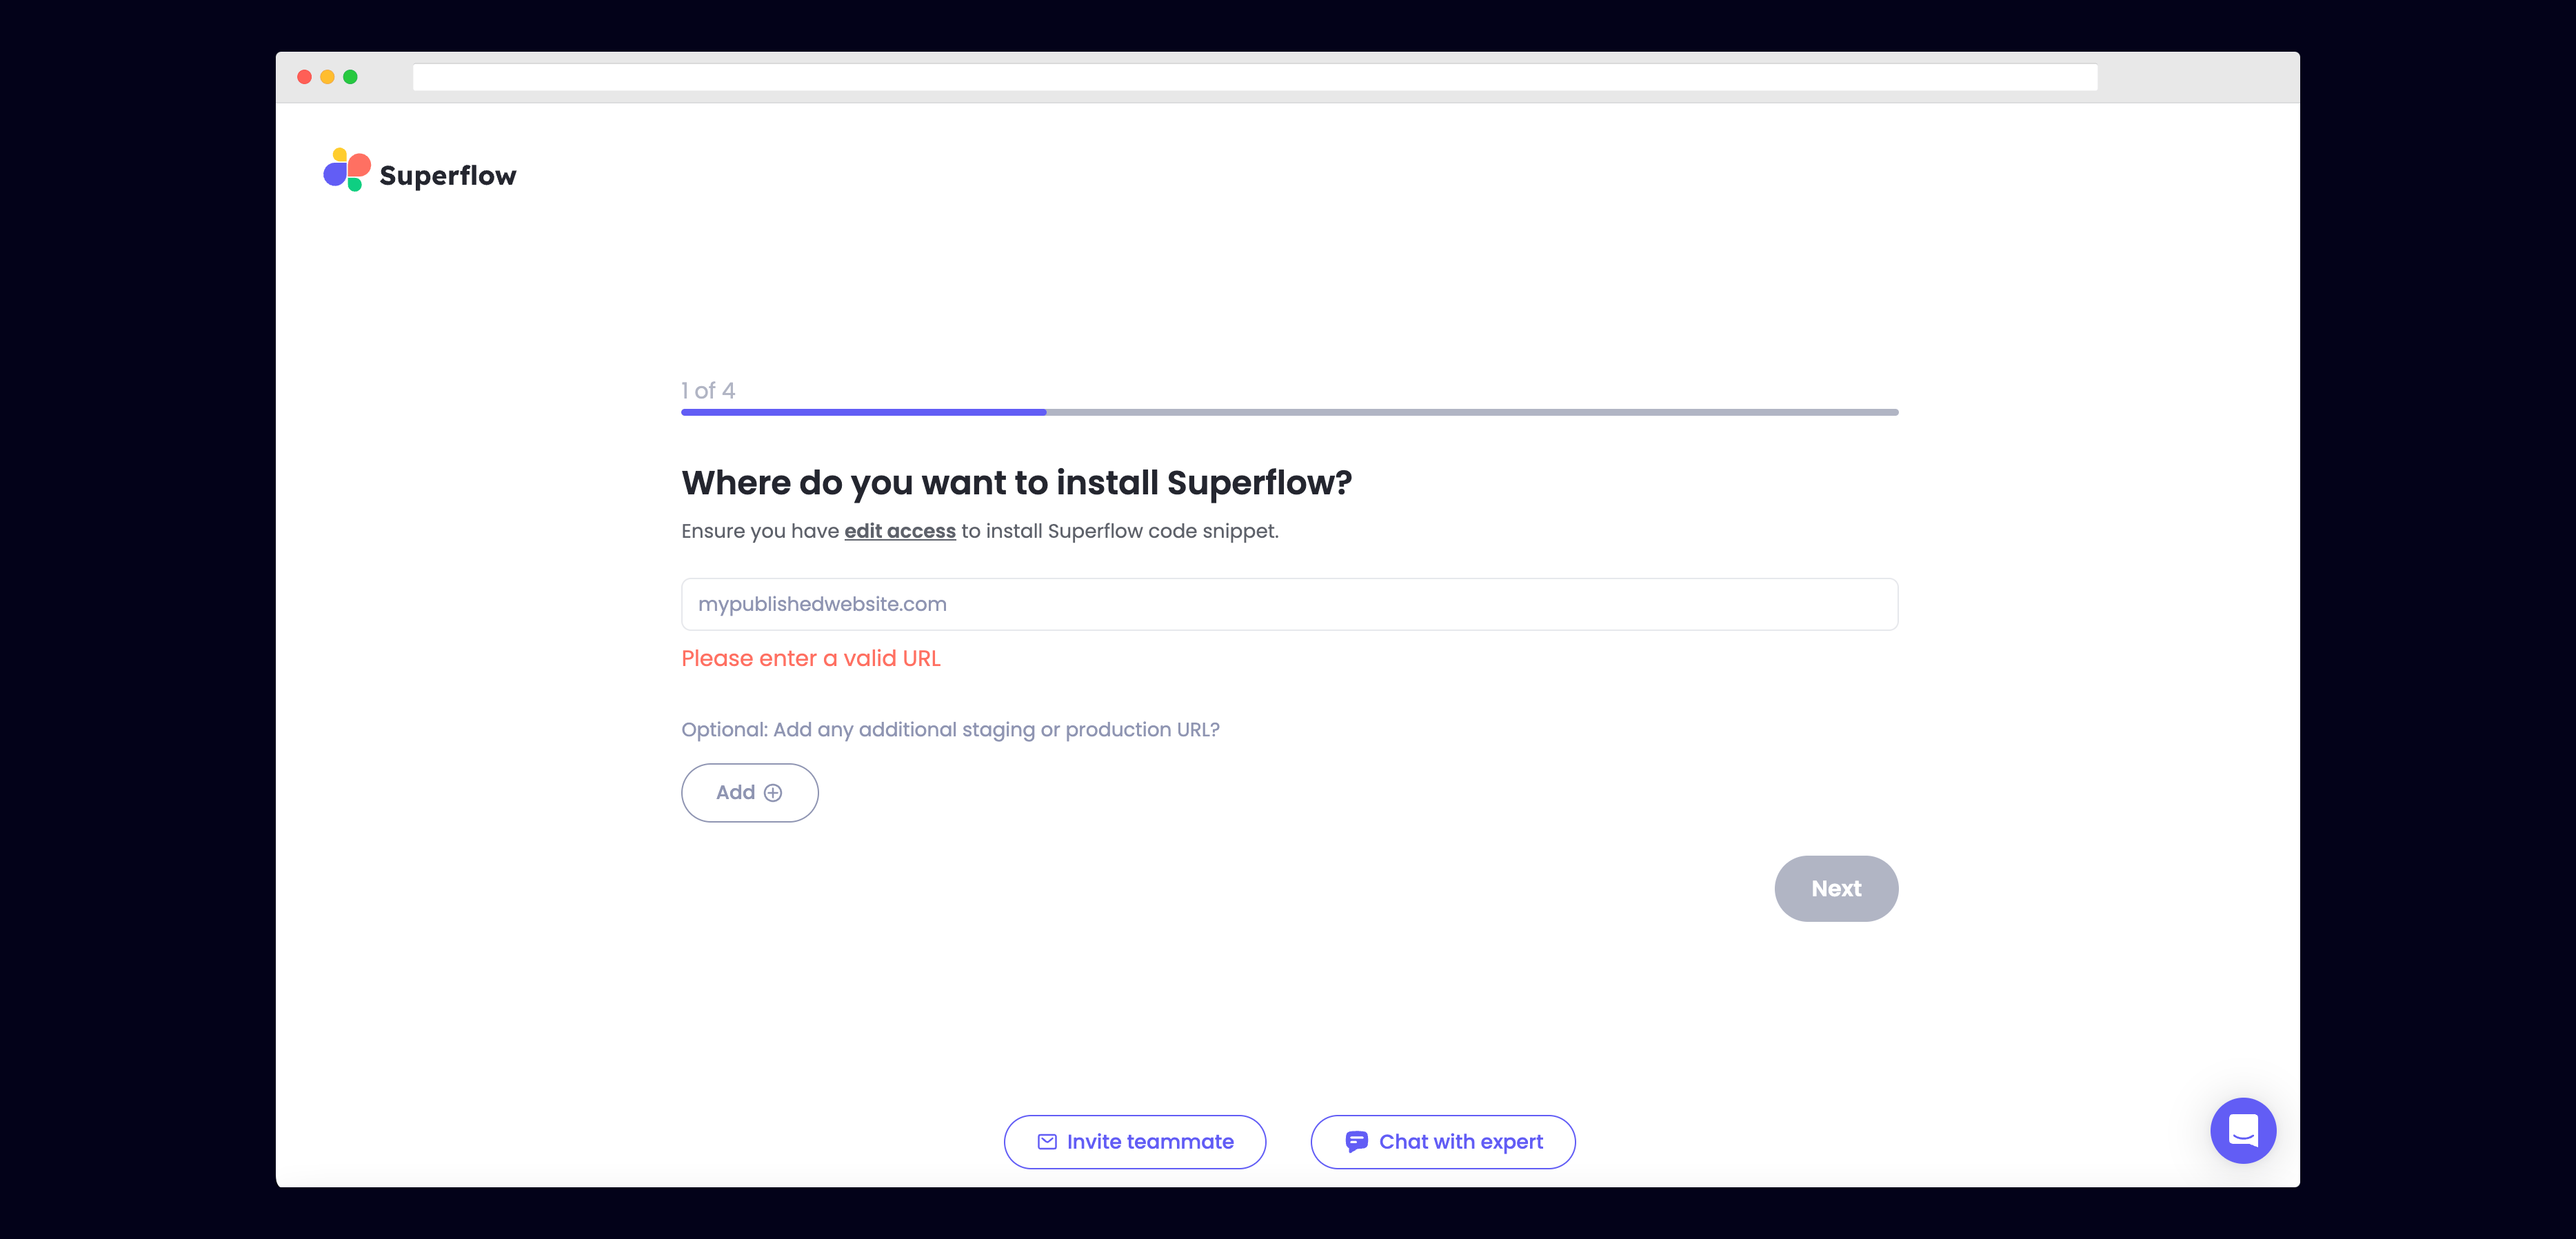
Now that you have verified that Superflow has been installed on your Next site, navigate to your published site and add `?review=true` at the end of the URL to enable Superflow.
`Example: mywebsite.com/?review=true`
## 11) Test out Superflow
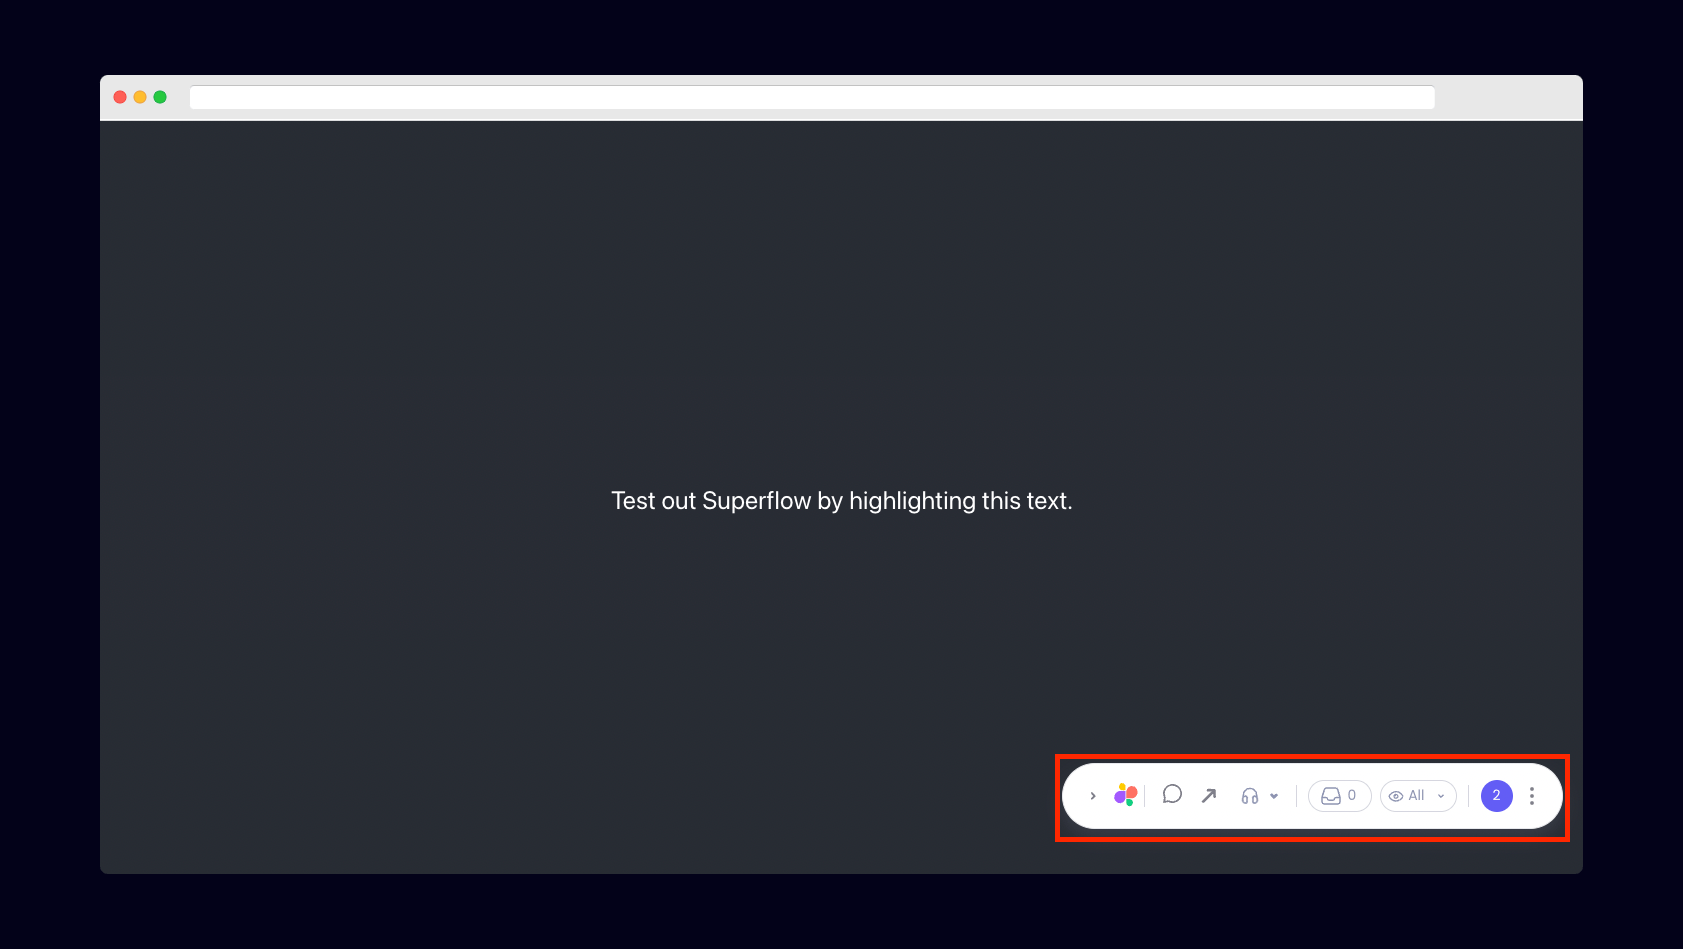
You should now see a Superflow toolbar on the bottom right of your screen.
## 9) Troubleshooting
Having trouble getting your verifying your installation? Here are the common mistakes users encounter when installing Superflow:
* Did you forget to save the Custom Code?
* Did you forget to publish your site?
* Is the browser still loading a cached version?
* Did you add `?review=true` at the end of your url?
* Did you publish your changes on a staging URL while you are trying to access a Prod URL?
* Did you accidentally install multiple Superflow scripts in the Custom Code?
## 10) Navigate to your Next site
Now that you have verified that Superflow has been installed on your Next site, navigate to your published site and add `?review=true` at the end of the URL to enable Superflow.
`Example: mywebsite.com/?review=true`
## 11) Test out Superflow
You should now see a Superflow toolbar on the bottom right of your screen.
 ## 12) Dropping your first comment
Try leaving a comment on your page.
You can leave a comment in several different ways:
* By highlighting any text
* By hovering over any element on the page
* By drawing a box anywhere on the page
You can also leave voice and screen recordings in your comments as well!
## 12) Dropping your first comment
Try leaving a comment on your page.
You can leave a comment in several different ways:
* By highlighting any text
* By hovering over any element on the page
* By drawing a box anywhere on the page
You can also leave voice and screen recordings in your comments as well!